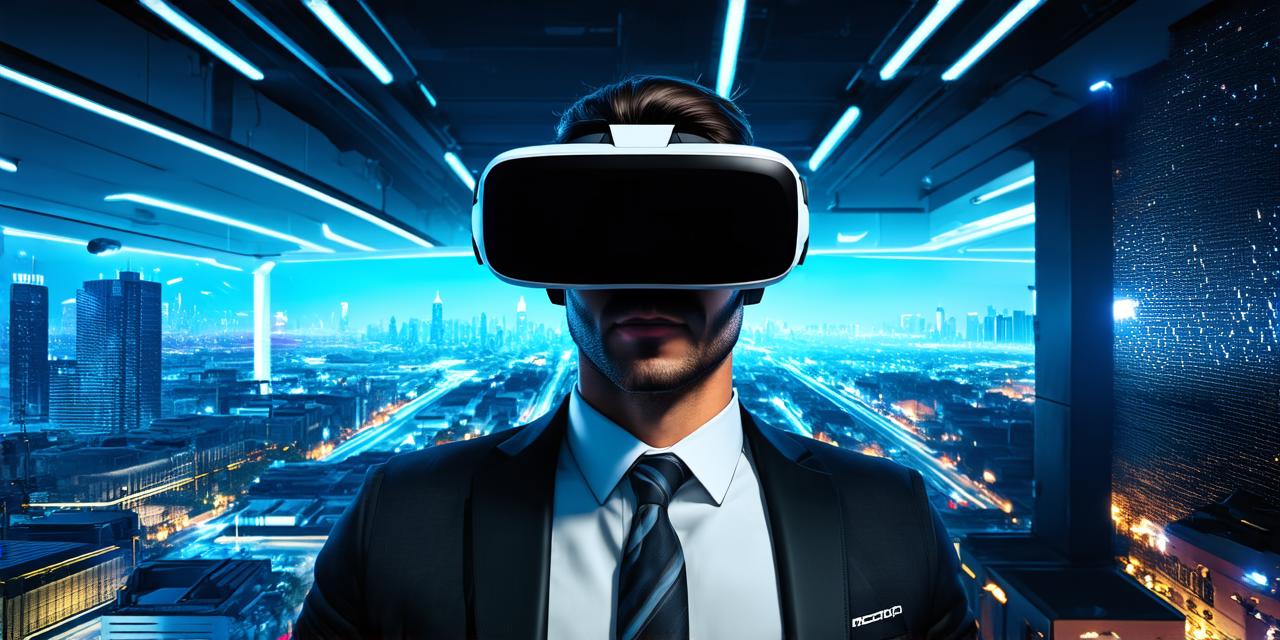
What is a Virtual Reality Headset?
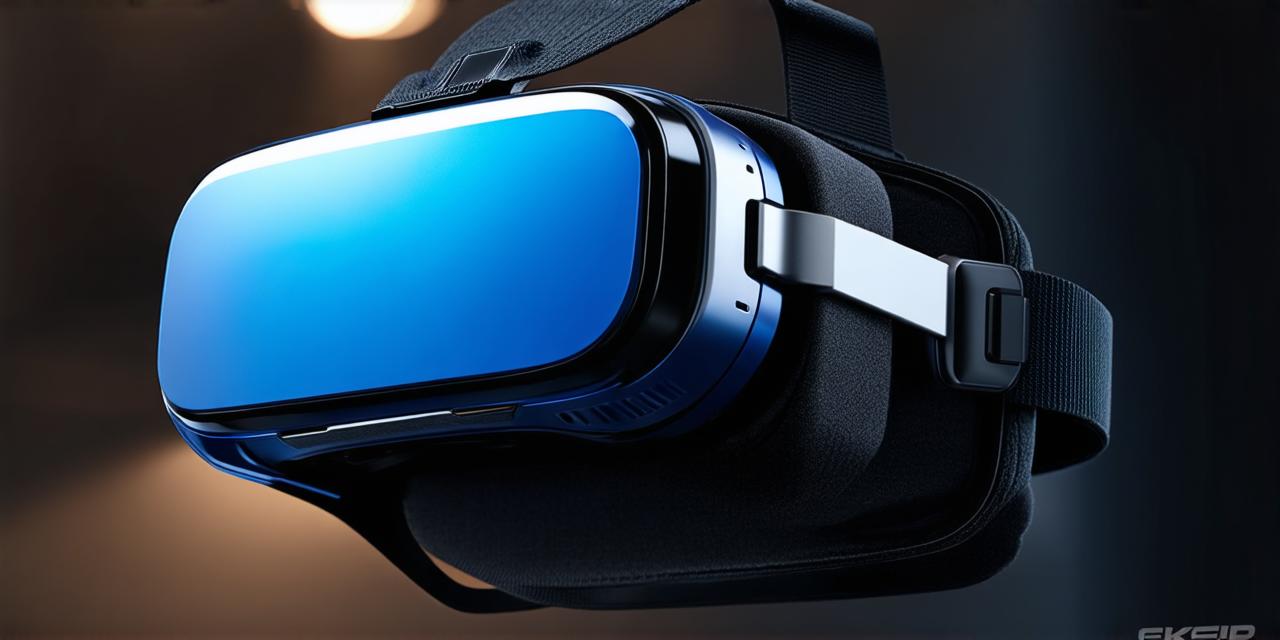
A virtual reality headset, also known as an HMD (Head-Mounted Display), is a device that allows users to experience a simulated environment in real-time. The headset consists of two displays mounted at opposite ends of the head, which create a stereoscopic effect that tricks the brain into thinking it’s seeing things in 3D.
How does a VR Headset Work?
A VR headset works by presenting two stereoscopic images to the eyes, one for each eye. These images are captured using high-resolution cameras or displays and then processed by specialized software that creates the illusion of depth and 3D movement. The sensors on the headset track the user’s movements, including their head position and orientation, which is used to adjust the image displayed in real-time.
Types of VR Headsets
There are several types of VR headsets available on the market, each with its own strengths and weaknesses. Some of the most popular types include:
- Oculus Rift
- HTC Vive
- PlayStation VR
- Samsung Gear VR
- Google Cardboard
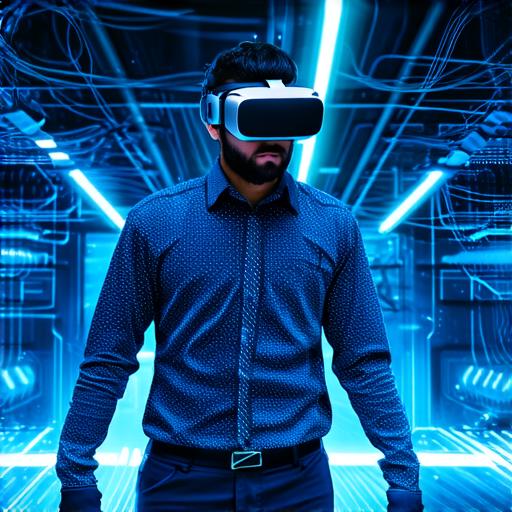
Tools and Equipment Needed to Create a VR Headset
Creating your own VR headset can be a complex process, but with the right tools and equipment, you can build a high-quality device that’s tailored to your needs. Some of the key tools and equipment you’ll need include:
- 3D Printer
- Computer-Aided Design (CAD) Software
- Electronics Components
- Soldering Iron and Tools
- Testing Equipment
Step 1: Design the Headset
The first step in creating a VR headset is to design the physical components. This includes everything from the shape and size of the headset to the placement of the displays and sensors. When designing your VR headset, it’s important to keep in mind factors like comfort, weight, and usability. You should also consider how the headset will be used and what types of environments it will be used in.
Step 2: Choose the Display Technology
The display technology you choose for your VR headset can have a significant impact on its performance and usability. Some of the most common display technologies include OLED, LCD, and LED. Each has its own strengths and weaknesses, so it’s important to choose the one that best suits your needs.
Step 3: Select the Sensors and Controllers
The sensors and controllers you use in your VR headset will track the user’s movements and allow them to interact with the virtual environment. Some common types of sensors include accelerometers, gyroscopes, and magnetometers. You should also consider the type of controller you want to use, whether it be handheld or gloves-based.
Step 4: Assemble the Headset
Once you’ve designed the physical components of your VR headset and chosen the display technology, sensors, and controllers, it’s time to assemble the device. This can be a complex process that requires careful attention to detail and precision. You should also test the headset thoroughly to ensure that all the components are working properly and that the user experience is seamless.
Step 5: Optimize the Software
The final step in creating your VR headset is to optimize the software that will run on it. This includes everything from the graphics and animations to the user interface and input controls. You should also ensure that the software is compatible with the hardware you’re using and that it can be easily updated and maintained over time.
Summary
Creating a VR headset can be a challenging but rewarding project. By following these steps and using the right tools and equipment, you can build a high-quality device that’s tailored to your needs. Whether you’re building a VR headset for gaming, immersive experiences, or other applications, with the right approach, you can create a device that’s both functional and enjoyable to use.
