1. Connect Your Headset
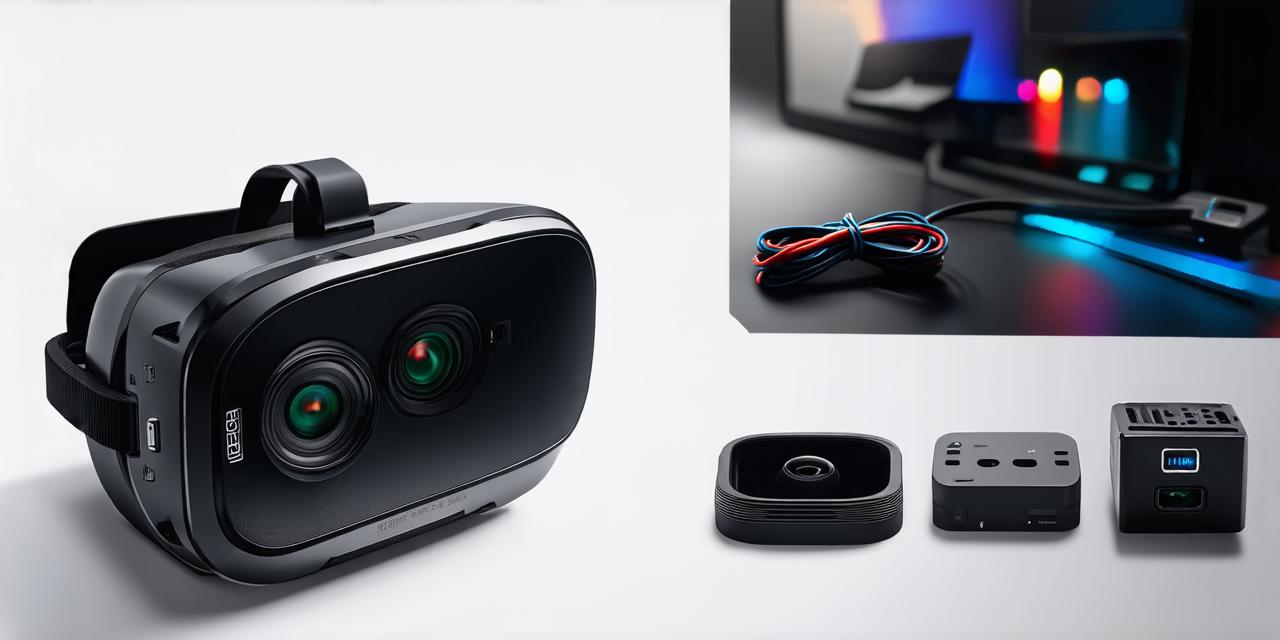
The first step in activating your VR headset is connecting it to your computer or gaming console. This process may vary depending on your device and the type of headset you are using.
For example, if you are using an Oculus Quest 2, you will need to connect it to a PC using a USB cable. On the other hand, if you are using a PlayStation VR headset, you will need to connect it to your PS4 using a HDMI cable.
It is important to note that some VR headsets may require additional setup, such as downloading software or creating an account with the manufacturer. Be sure to consult the user manual for your specific headset to ensure a successful connection.
2. Install Drivers
Once your VR headset is connected, you will need to install the necessary drivers on your computer or gaming console. Drivers are software programs that allow your device to communicate with the VR headset. Without them, your headset may not function properly.
The process of installing drivers can vary depending on your device and headset type. However, most VR headset manufacturers provide drivers on their website or within the user manual. Be sure to download and install the latest version of the drivers before proceeding.
3. Set Up Tracking Sensors
VR headsets require tracking sensors to detect the movement of your head and body. These sensors are typically located on the sides or back of the headset, and they use infrared technology to track your position.
To set up the tracking sensors, you will need to remove the sensors from their packaging and attach them to the headset. Be sure to follow the instructions provided by the manufacturer, as some sensors may require calibration before they can be used.
4. Adjust Headset Settings
Once your VR headset is connected, drivers are installed, and tracking sensors are set up, you can adjust the settings on your headset to suit your preferences. These settings may include things like resolution, refresh rate, and audio levels.
It is important to note that some VR games or experiences may require specific settings in order for them to run properly. Be sure to consult the user manual for your game or experience to ensure a seamless experience.
5. Test Your Headset
Now that everything is set up, it’s time to test out your VR headset! Start by putting on the headset and making sure it fits comfortably. Then, launch a VR game or experience and test out the audio and visual quality.
If you are having trouble with your VR headset, be sure to consult the user manual or contact customer support for assistance.
FAQs:
1. Can I use my VR headset with a smartphone?
Answer: Yes, some VR headsets can be used with smartphones, but this may require additional equipment such as a smartphone adapter or a computer connected to the internet.
2. How do I clean my VR headset?
Answer: To clean your VR headset, use a soft, dry cloth to wipe away any dirt or debris from the lenses and sensors. Be sure not to use water, as it can damage the headset.
3. Is VR technology expensive?
Answer: The cost of VR technology can vary depending on the type of headset and equipment used. However, there are affordable options available for beginners, such as smartphone-based VR devices or lower-end gaming PCs.
In conclusion, activating a virtual reality headset can be a simple process with the right guidance. By connecting your headset, installing drivers, setting up tracking sensors, adjusting settings, and testing your headset, you can enjoy an immersive VR experience in no time. With the increasing popularity of VR technology, there are endless possibilities for entertainment, education, and more. So don’t wait – get your VR headset set up today!


